Step 1: Create Your Book
- Click the “Admin” link (located in the top-right).

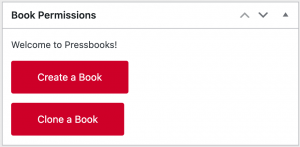
- Select ‘Create a Book‘.
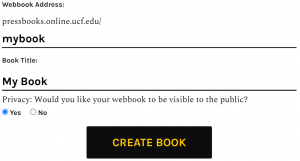
- Fill in your desired webbook address and book title and click the ‘Create book‘ button. Your webbook address cannot be changed later, so choose this value carefully. The book title can be easily changed at any point in the future.
Step 2: Add Your Book Information
The Book Info page is where you add and edit important information (metadata) about your book.
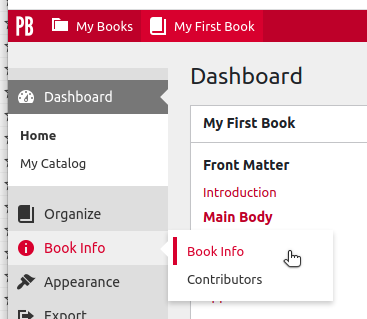
- From your book dashboard, click ‘Book Info’
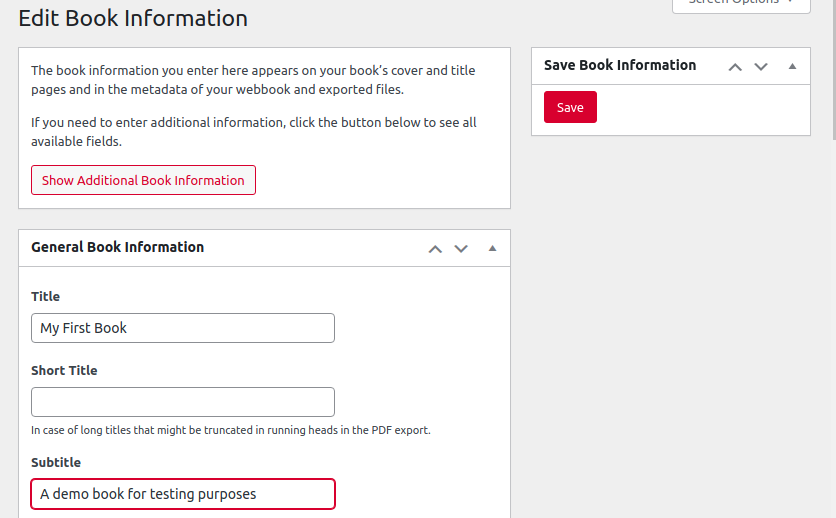
- Enter your desired Book Information and click ‘Save‘ in the ‘Save Book Information‘ widget.
Step 3: Add and Organize Your Text
You can add and organize your text from the Organize page in the left sidebar menu of your book dashboard. The organize page will allow you to see all of your existing content, its order, and its display status. You’ll see the three main components of your book on this page:
Front Matter: Content in this section may include your introduction, foreword, dedication, and more. You can read more in our chapter on Front Matter.
Parts & Chapters: These comprise main body of your book. Your book can contain one or more Parts. Each part can contain one or more Chapters. Learn more in our chapters on adding Parts and adding Chapters to your book.
Back Matter: Content in this section may include your epilogue, appendix, information about contributors, and more. More details can be found in our chapter on Back Matter.
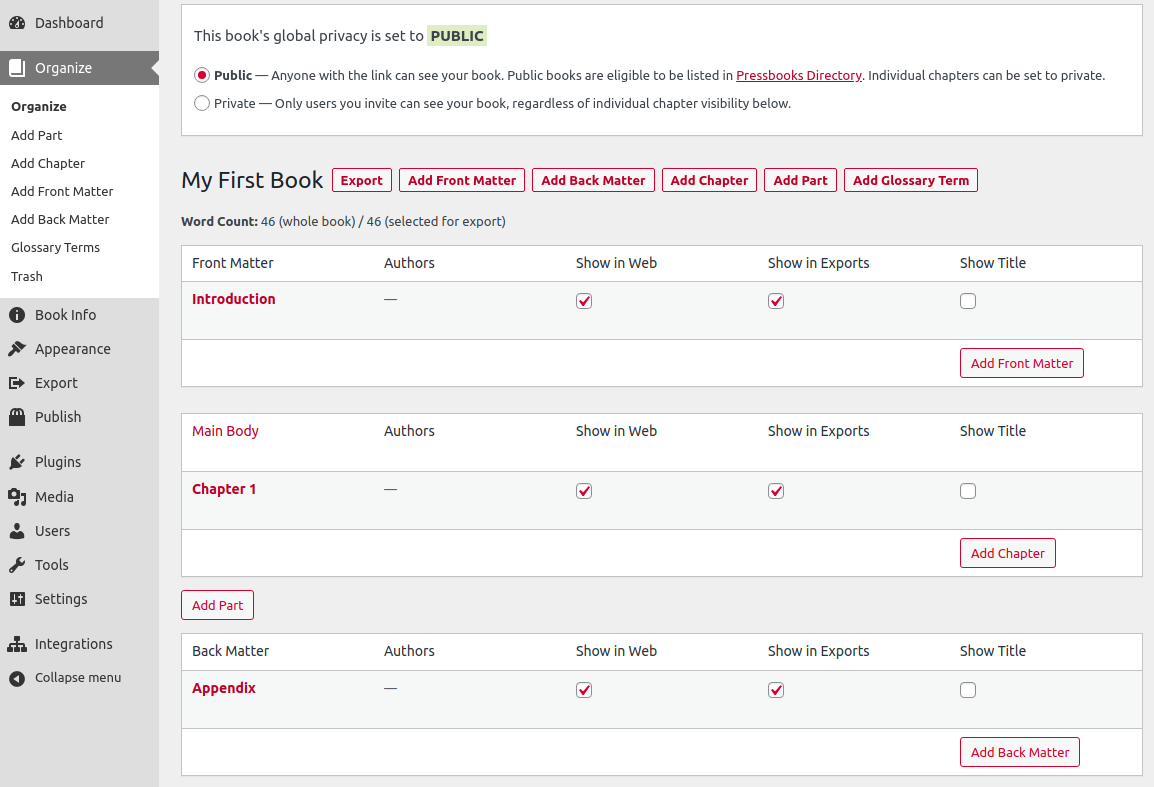
For more information on other ways to import your text into Pressbooks, check out our guide chapter on How to Get Your Book into Pressbooks.
Step 4: Choose Your Book Theme
Once you’ve entered or imported the content that will make up your book, you can select and apply your preferred Theme. Each Pressbooks theme is a unique template which governs the display of your webbook and export formats (including PDF and ebook exports).
Browse available themes by clicking Appearance > Themes from your Book Dashboard:

Once you’ve selected a theme, you can customize several of the design elements for your webbook and export files using Theme Options or Custom CSS.
Step 5: Export Your Book
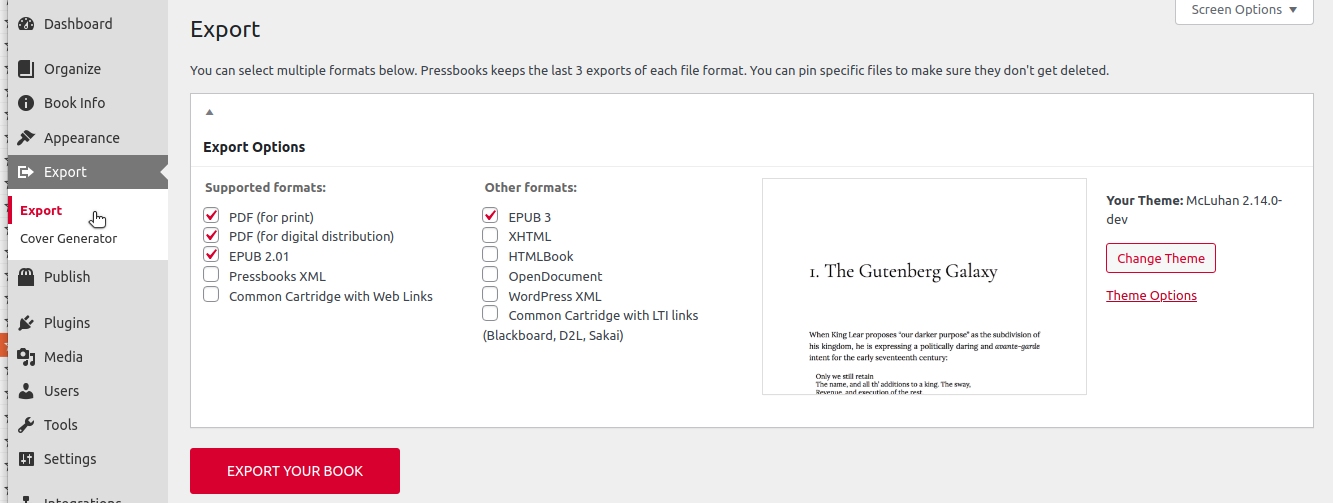
Once you’re happy with the appearance of your book, you can publish it to the web as a webbook or produce exports for distribution or sale. To produce and download export files for your book, click ‘Export‘ from your book Dashboard:
Attribution: The following content is adapted from The Simple 5 Step Guide to Making a Book with Pressbooks in the Pressbooks User Guide by Pressbooks CC BY 4.0.
